What Type Of Decking Is Best Around A Pool?
Interested in installing a new deck or renovating your current pool area? Learn what decking material is the best for around your backyard swimming pool in our guide!
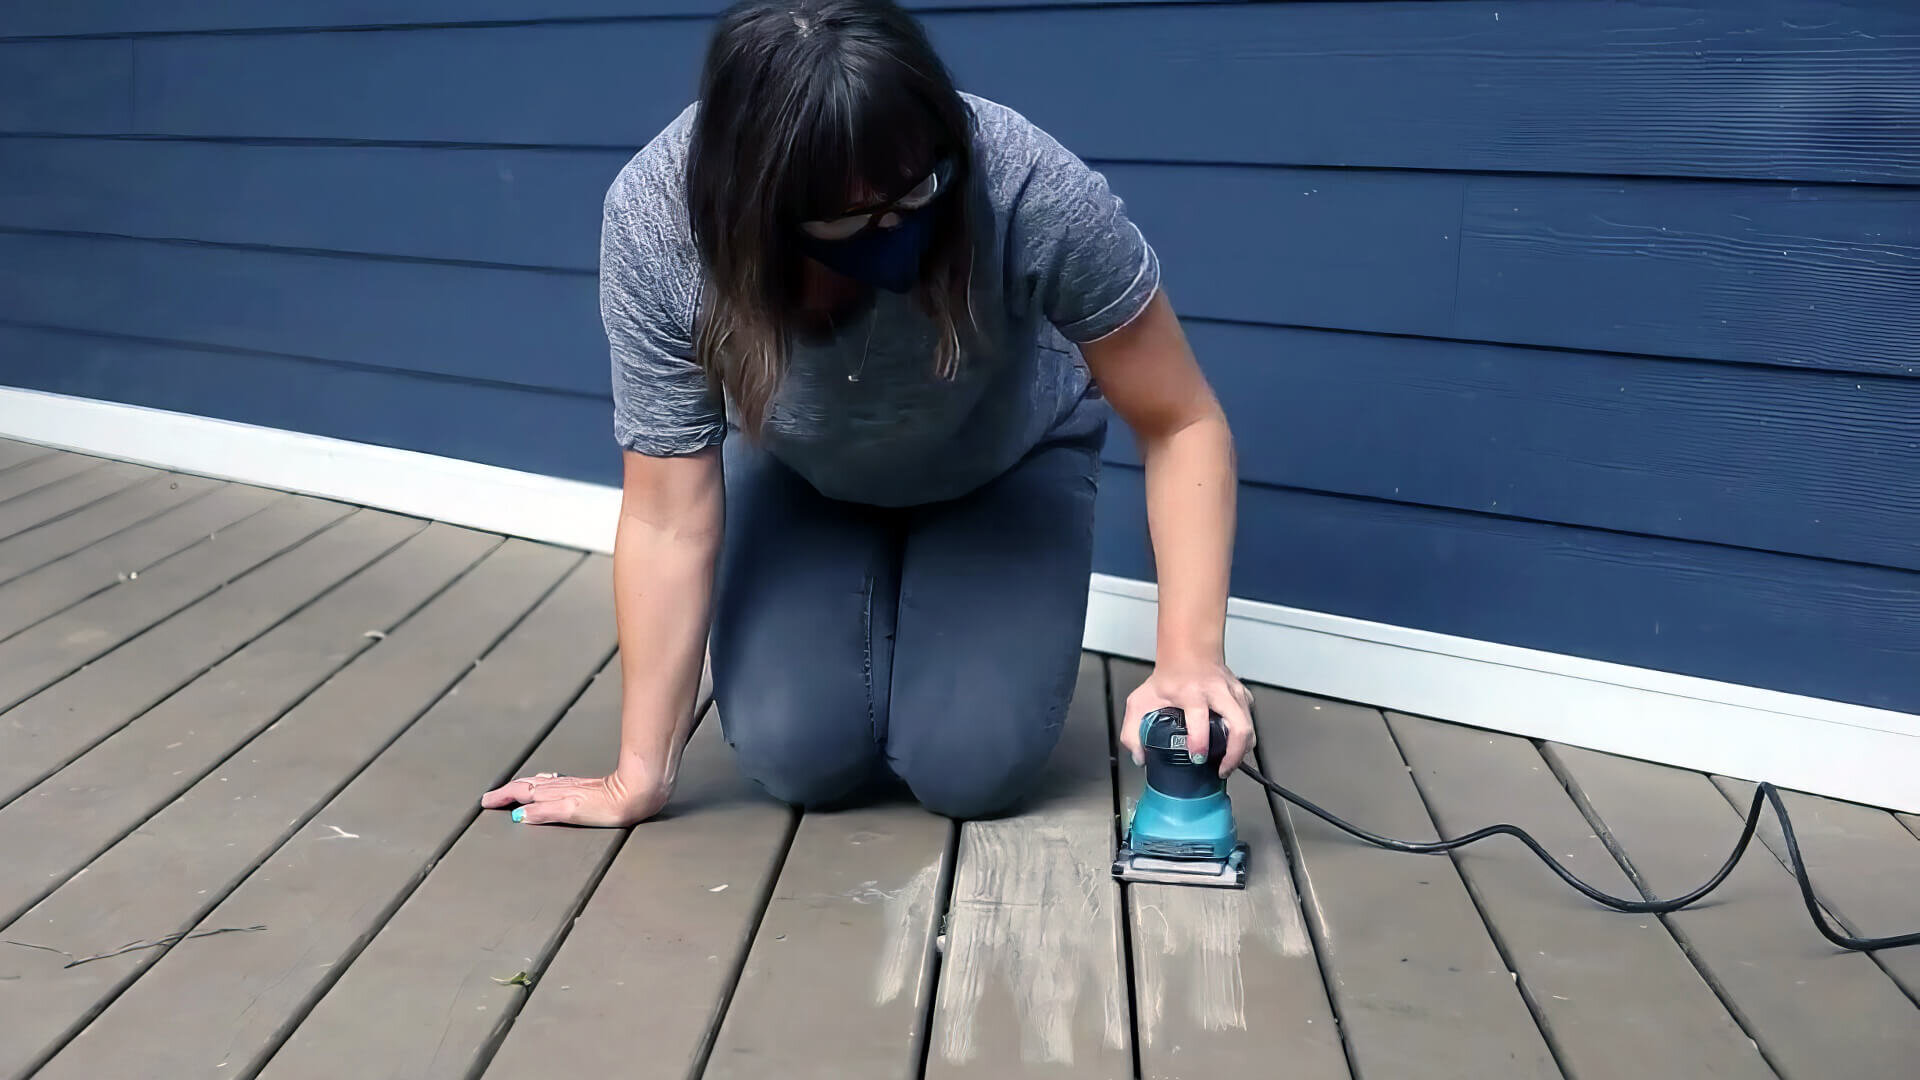
Read Full StoryAre you getting ready to sand a deck? The sanding process is common in most woodworking projects–installing a brand new deck or refinishing the deck surface.
A house deck is where the family gathers during occasions and relaxation. So, one must ensure it is properly sanded to achieve a finished look and prevent accidents like slipping or skidding. As such, a sanding tool can do a more efficient sanding job than using grit sandpaper by hand, which can lead to uneven results.

However, choosing the right power tool, especially a deck sander, can often be confusing, given the different types available on the market. So, to guide you, here are some detailed insights into the best deck sander types and tips on how to use them for your deck refinishing project!
A belt sander is probably the most traditional deck sander type, which is one of the best handheld power tools with a high material removal rate.
It is ideal for most homeowners with small or medium decks since belt sanders use a small strip of coarse sandpaper. Since belt sanders are known for their versatility, you can use them for other woodwork projects besides removing the top layer of decks. Overall, it is a handy tool to keep in your inventory.

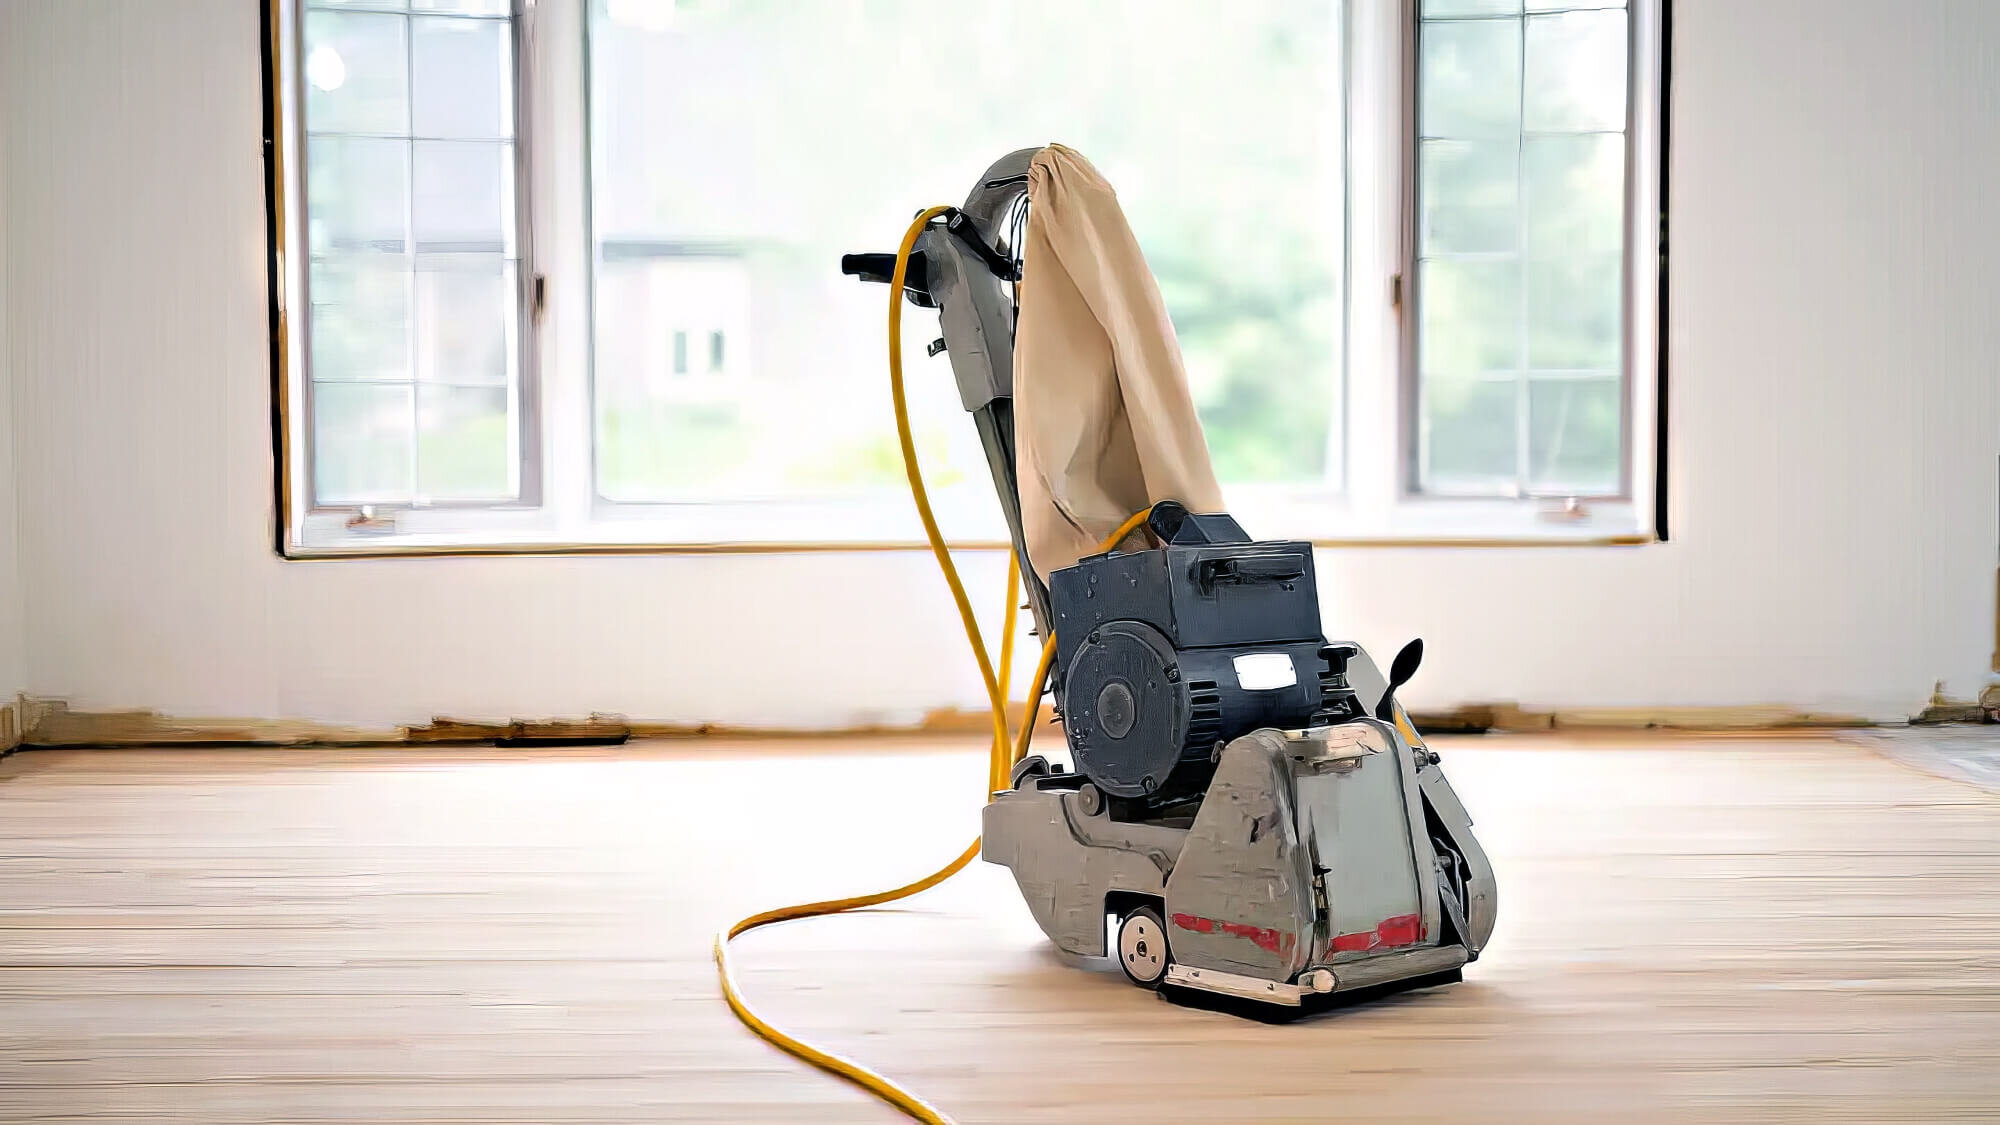
This is a multipurpose sander, ideal for homeowners with wooden floors since it can be used as a floor and wooden deck sander. Even though floor sanders offer less control during a deck sanding project, they can cover a larger area due to their heavy-duty motor.

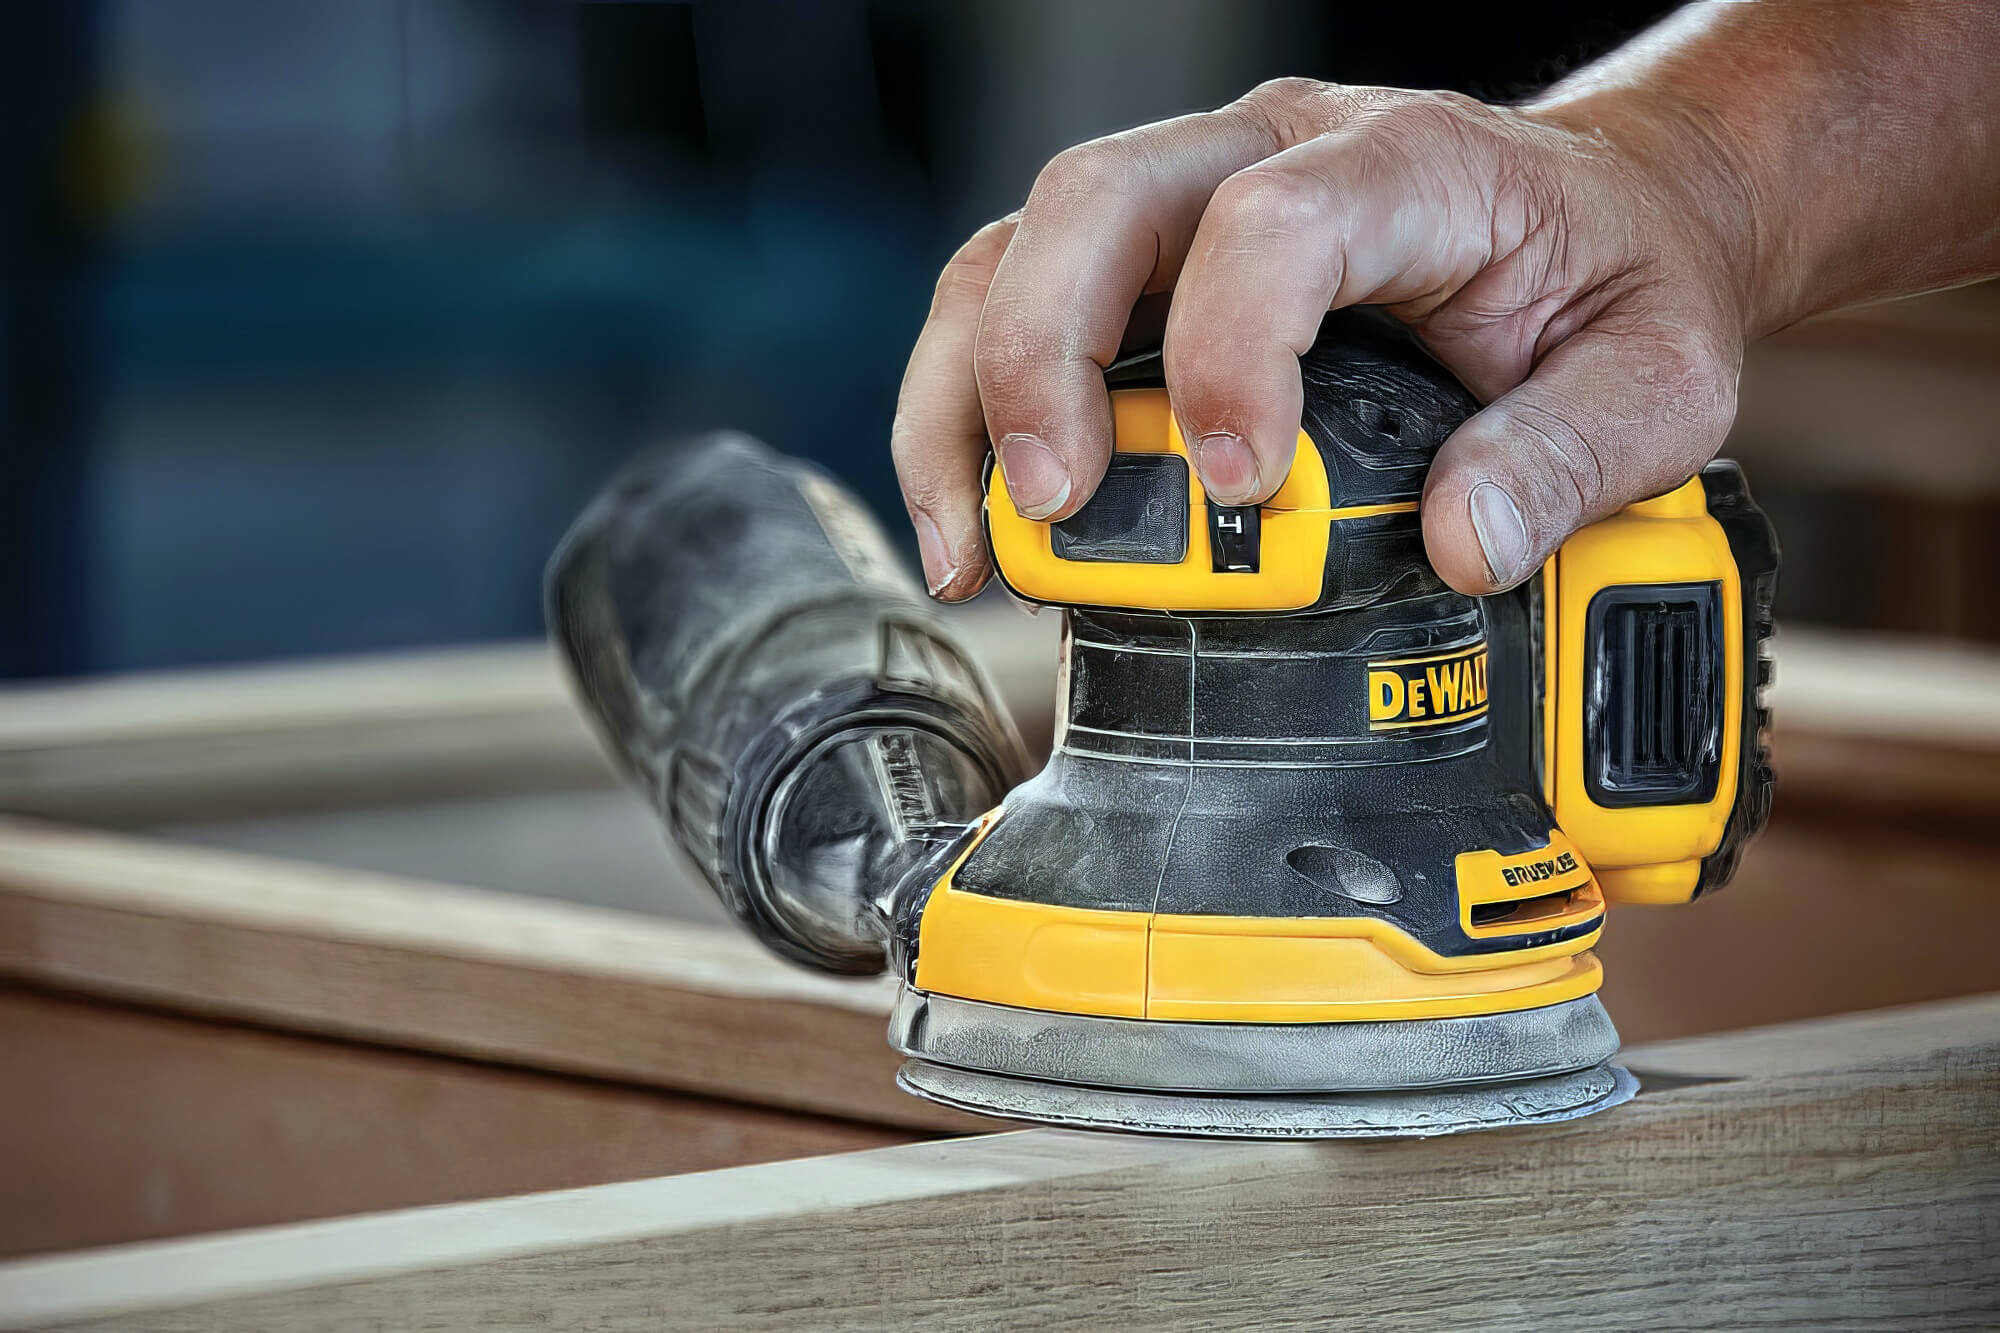
Orbital sanders are popular for their wide and round surface, which is closer to the hand for better support and control. It is similar to a floor sander but offers more even and controlled sanding, ideal for your deck’s surface.
However, an orbital sander can leave round marks on the deck if you don’t keep moving it. Hence, DIY enthusiasts who may not have used sanders before prefer using belt sanders over random orbital sanders.

This type of sander is only efficient on a clean surface, so a disc sander might not be a good choice if your deck has a build-up of dirt and debris. Consider purchasing a belt or floor sander for dirty decks with tough buildups.

Since a detail sander is smaller, it is ideal for sanding a smaller area instead of the entire deck. It can, however, efficiently remove stains, dirt, or uneven surfaces in tight spaces without much effort.

Cleaning the deck’s surface is the most important step, as this will help sand the deck evenly without wasting any resources. Use a power washer to remove dirt, grease, debris and wood dust from the entire surface until you can see the wood grain. Let it completely dry before you start sanding.
Once it is dry, remove the deck screws and nails that might come in the way of the sanding process or harm the sanding disk. To create an even surface for sanding a deck, you can fill the gaps between the wooden planks with a wood filler.
Take the floor or belt sander and start sanding from one side of the desk to the other. Remember to move it evenly across the deck boards until you reach the other end. While sanding decks, try using the electric deck sander on consecutive planks without halting on one for a long time.
For hardwood decks, it is advisable to use a belt sander with minimal pressure; however, an orbital sander is also good enough if used with proper techniques.
To ensure your deck looks even, you must sand the handrails when done with the deck. A belt or other power sander may be too heavy, so use grit sandpaper instead. Cover all areas you want to paint before proceeding to the next step. Repeat the sanding process if there are areas that need to be redone.
Before washing the decks with water, use a simple broom to remove the sawdust and shavings from the flat surfaces. Then, with the help of a pressure washer, remove any dirt that might be lodged between the cracks. But before doing this, ensure the deck wood is strong enough to withstand the pressure.
If you don’t want to wet the decks, use a vacuum cleaner and thoroughly clean the decks, including the wood deck cracks and corners.
It would be best to sand your deck every two to three years to keep it smooth and shiny. So, using an electric sander is not a one-time thing, nor is buying a new one every time pocket-friendly.
Hence, always remove the sandpaper when you’re done sanding, keep the machine dry and store it away from moisture. You can also oil the motors now and then to keep them working correctly.
Every woodwork requires proper maintenance to increase its longevity. The sanding process is important to prepare the deck surface for treatments–polishing, staining, or painting. However, hiring professional home improvement experts is advisable if you have a large deck or want a premium finish since it requires advanced equipment and techniques.
Final Touch Carpentry & Construction specialises in renovations, building and carpentry throughout Sydney. With speedy customer service, affordable pricing, and quality products, We are a reliable renovation company for all your deck needs. Reach out to us today if you need assistance.
That’s all on-deck sander types and tips for using them for your decking boards. We’ll be signing off for now. For more woodworking tips, see our blog on how to cut straight with a circular saw.
Until next time, stay safe!
Interested in installing a new deck or renovating your current pool area? Learn what decking material is the best for around your backyard swimming pool in our guide!
Read Full StoryAre you looking for innovative ways to extend your existing deck? We provide tips on how to build an affordable and easy deck extension. Read on to learn more!
Read Full StoryReady to upscale or modernise your existing home, but not sure whether to renovate or build? Let us help you in our guide with the most important things to consider!
Read Full Story

